

What the picture frame molding calculator plans
This picture frame molding calculator lays out a grid of decorative wall boxes inside a measured wall section. Enter the wall width and height, the number of columns and rows, outside margins, clear gaps and the actual face width of the molding. The calculator solves equal box dimensions and redraws the wall plan to scale.
- total number of picture frame molding boxes
- exact outside width and height of every box
- clear opening inside each finished frame
- long-point lengths for the 45° mitered horizontal and vertical pieces
- total molding length including a selected material allowance
- estimated number of stock molding lengths using the entered board length and saw kerf
This tool is for separate rectangular wall-molding boxes, often called picture frame molding, picture frame moulding, box trim or shadow-box molding. It is intentionally different from rail-and-stile wainscoting, which uses a continuous framed wall system.
Measurements you need before laying out wall molding
Picture frame molding calculator inputs
| Input | What it controls | How to measure it |
|---|---|---|
| Wall section width | The full horizontal area available for the box layout | Measure between the real visual boundaries: corners, casing, built-ins or another intentional stopping point |
| Wall section height | The vertical area available for the complete grid | If the boxes sit between baseboard and crown or only above furniture, enter that actual usable zone |
| Columns / rows | How many equal boxes make up the wall composition | Start with a rough design, then judge the resulting proportions in the scaled preview |
| Outside margins | Clear wall left around the outer edge of the grid | Left and right use one value; top and bottom use a separate value |
| Horizontal / vertical gaps | Clear wall between neighbouring frames | The two directions can use different spacing |
| Molding face width | Visible installed width of the trim profile | Measure the actual face rather than relying on a nominal product description |
| Stock molding length | Length of one piece you can actually buy | For example 8 ft, 10 ft, 2.4 m or another supplier length |
| Saw kerf | Material removed between cuts by the blade | Useful when estimating how many stock lengths can produce the required pieces |
Mark the outside boundary of the entire composition with painter's tape before choosing the final grid. This quickly reveals conflicts with outlets, switches, door casing, radiators and furniture that a clean rectangle on screen cannot know about.
How equal picture frame molding spacing is calculated
The calculator subtracts the two side margins and every horizontal gap from the wall width. The remaining width is divided equally between the selected columns. It repeats the same process vertically using the top and bottom margins and the gaps between rows.
- Subtract the left and right margins from the wall-section width.
- Subtract all clear gaps between columns.
- Divide the remaining width equally between the columns.
- Repeat the process for wall height, top/bottom margins and row gaps.
- Subtract two molding face widths from each outside box dimension to find the clear opening.
- Count two horizontal and two vertical mitered pieces for every box, then add the selected material allowance.
Outside box size vs clear opening
Outside box size is measured from the outside edge of the molding to the outside edge on the opposite side. For a simple 45° mitered rectangle, that is also the long-point length used for each side. The clear opening is the visible wall area inside the trim after the molding face width has been removed from both sides.
Molding profiles are not all cut and referenced the same way. Before batch cutting the project, make one test frame and confirm that your saw setup, profile orientation and long-point measurement produce the intended outside dimensions.
Imperial example: four columns by two rows on a 12 × 8 ft wall
What box size results from a 12 ft × 8 ft wall section with four columns, two rows, 6 in outside margins, 4 in horizontal gaps and 6 in vertical gaps?
Answer: The wall is 144 in wide. After two 6 in side margins and three 4 in gaps, 120 in remain for four boxes, so each box is 30 in wide. Vertically, 96 − 12 − 6 = 78 in remain for two rows, giving an outside box height of 39 in. With 1.5 in molding, the clear opening is 27 × 36 in.
Explanation: The margins and gaps are removed before the boxes are divided, so every rectangle receives exactly the same outside dimensions instead of leaving a narrow leftover box at one edge.
Metric example: a 3.6 × 2.6 m wall
What happens with four columns and two rows on a 3.6 × 2.6 m wall using 150 mm side margins, 150 mm top/bottom margins, 100 mm horizontal gaps and 150 mm vertical gaps?
Answer: Across the wall, 3600 − 300 − 300 = 3000 mm remain after the margins and three horizontal gaps. Dividing by four gives 750 mm outside width per box. Vertically, 2600 − 300 − 150 = 2150 mm remain, so each of the two rows is 1075 mm high. With 40 mm molding, the clear opening is 670 × 995 mm.
Explanation: The same geometry works in either unit system; only the displayed units change.
Use the scaled wall preview before you cut
The preview uses the same calculated dimensions as the result cards. It preserves the wall proportion, box count, outside margins, clear gaps and molding face width, so changing a field immediately shows whether the layout is becoming too busy, too sparse or visually unbalanced.
A layout problem deserves a layout, not only a number
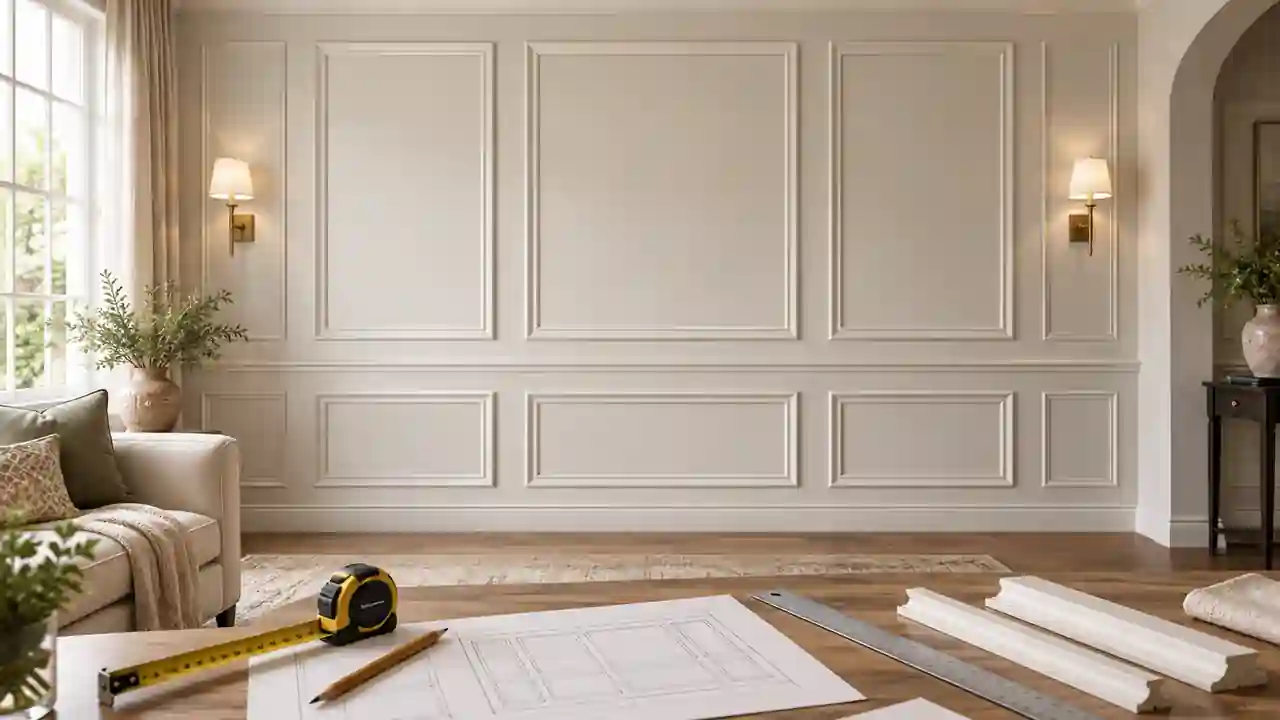
The same 4 × 2 grid can feel completely different on a long low wall and on a tall narrow wall.
Change the column and row count until the boxes echo the wall rather than fighting its proportions.
Once the screen layout looks sensible, reproduce the main lines with painter's tape on the real wall before cutting trim.
Picture frame molding cut list and stock lengths
Every box uses two horizontal pieces and two vertical pieces. The detailed cut list combines identical pieces so you can batch-cut the project. The stock-length estimate then tries to place those pieces into the molding lengths you entered, allowing for saw kerf between cuts and a separate material reserve.
What the material estimate includes
| Quantity | Calculation | Why it matters |
|---|---|---|
| Horizontal pieces | 2 × number of boxes | Top and bottom of every frame |
| Vertical pieces | 2 × number of boxes | Two sides of every frame |
| Molding with allowance | Combined cut length × selected allowance | Adds reserve for recuts, defects and unusable offcuts |
| Stock lengths | Cut pieces packed into the entered stock length | Turns linear footage into an approximate number of real pieces to buy |
The stock-length result is a planning estimate, not a guarantee of perfect yield. Profile defects, grain or pattern direction, damaged ends, supplier tolerances and which offcuts you choose to keep can change the final purchase.
How far apart should picture frame molding boxes be?
There is no universal gap that works on every wall. A modest gap can look generous on a small wall and undersized on a large one. The more reliable approach is to choose a repeatable spacing, solve all boxes equally, and judge the full composition against casing, baseboard, crown, furniture and other horizontal or vertical lines already in the room.
- Set the outside boundary of the whole composition first.
- Keep the two side margins equal and the top/bottom margins equal unless the design intentionally says otherwise.
- Choose gaps that are easy to transfer with a spacer block or story stick.
- Use the preview to compare one more or one fewer column before committing.
- Do not punish the last box with whatever width happens to be left; rebalance the entire grid instead.
Doors, windows, outlets and built-ins
A full-height doorway, large window, fireplace or built-in cabinet often creates a natural break in the molding composition. In that case, treat each uninterrupted wall section as its own layout. Outlets and switches usually do not reduce the wall width; instead, check where the molding lands and adjust the grid or frame boundary when necessary.
Picture frame molding vs wainscoting
Picture frame molding creates separate closed rectangles with visible wall between them. Traditional rail-and-stile wainscoting creates a continuous framed assembly, usually across the lower part of a wall. That distinction changes the arithmetic: picture-frame boxes need four mitered sides and clear gaps around each box, while wainscoting focuses on stile positions, rails and equal panel openings.
Planning rail-and-stile panels instead? Open the Wainscoting CalculatorCommon picture frame molding layout mistakes
- Dividing the full wall width by the number of boxes before subtracting margins and gaps
- Using nominal trim size instead of the actual installed face width
- Confusing the outside frame dimension with the clear opening inside it
- Measuring each new box from the previous one and allowing small errors to accumulate
- Buying the exact calculated linear footage with no reserve for recuts or defects
- Choosing stock molding shorter than the longest side of the box
- Cutting every piece before test-fitting the first complete rectangle
Frequently asked questions
Should every molding box be the same size?
For a regular grid, yes. This calculator intentionally equalizes every box within the selected wall section. If the design calls for a wide center box, narrow side boxes or another asymmetric composition, divide the wall into separate planned zones rather than forcing those different boxes through one equal-grid calculation.
Is the cut length measured to the inside or outside of the miter?
The cut list uses the outside box dimension as the long-point-to-long-point length for a conventional 45° mitered frame. Always verify one test piece against your exact profile and saw setup before batch cutting.
Can I calculate one large wall frame?
Yes. Set columns to 1 and rows to 1. The side and top/bottom margins then position a single rectangular frame inside the measured wall section.
Does the calculator subtract outlets and switches?
No. Electrical devices are treated as layout conflicts rather than missing wall area. Check the scaled plan against the real outlet and switch positions, then adjust the grid if a trim piece would cross a box or plate.
Final check before cutting wall molding
- The wall section was measured at several heights and widths if the room is not perfectly square.
- Door casing, crown, baseboard, switches, outlets, radiators and furniture have been checked.
- The column and row count looks proportional in the scaled preview.
- The actual molding face width is known.
- The longest frame side fits within the stock length being purchased.
- The material allowance matches the complexity of the project and your cutting confidence.
- One complete frame will be test-cut before the full batch.
- Installation marks will be transferred from consistent reference lines rather than chained from the previous box.
A good picture frame molding calculator should do more than return linear feet. The useful result is a wall composition you can understand, a cut list you can take to the saw and a material estimate you can compare with the stock lengths sold locally. Use the numbers to establish the geometry, then let the real wall have the final vote before the trim is cut.